Draftsight 2021 sp4 бесплатно на русском
Содержание:
- CAD DraftSight — программный комплекс от компании Dassault Systems
- Before you start drawing
- Coordinates system
- Which DraftSight Package is Right For You?
- Mouse Gestures
- Commands 101
- DraftSight basics: orientation
- Возможности
- Загрузка и установка DraftSight
- DraftSight Free CAD
- Функционал DraftSight Free CAD
- Особенности программы
- Минусы
- Бесплатные программы
- Drawing and editing
- Customize your own shortcuts
- From Newbie To Expert
- Customization
- Extra resources
- Плюсы и минусы
- Manage Your Standards
- Top Resources
CAD DraftSight — программный комплекс от компании Dassault Systems
Программный комплекс DraftSight является бесплатным для студентов и личного использования.

Для коммерческого использования стоимость одной копии около 300 евро для любой платформы, что, согласитесь, на фоне стоимости Автокада выглядит если не символической платой, то вполне приемлемой.
В то же самое время, САПР DraftSight даёт гораздо больше, чем просто возможность работы в Linuх с форматом DWG.
Данное приложение – полнофункциональный инженерный инструмент, который, в отличие от ряда существовавших и ранее CAD-ов под Linuх, предоставляет практически такие же возможности работы с DWG-чертежами, как и AutoCAD.
Помимо этого, DWG-чертежам в исполнении DraftSight характерна кросс-платформенность. А именно: созданные пакетом чертежи практически без проблем открываются любым ПО, работающим с этим форматом, в том числе под любой ОС.
Так, примитивы и созданные примитивами блоки, стандартные CAD-шрифты полностью совместимы. Небольшая ложка дёгтя на фоне всех преимуществ – нарушение кодировки некоторых шрифтов, явление, правда, довольно редкое.
Были замечены нарушения при использовании Times New Roman. Эмпирическим путем позже было установлено, что данному недугу не подвергается, в частности, Times New Roman Cyr.
Before you start drawing
Now you know what to expect with the DraftSight interface, but that doesn’t necessarily mean you’re ready for your first drawing. Before you start drawing, you have to make a few preparations. Firstly, you’ll want to check that you’re using the right unit system. With DraftSight, you can change the base angle, length and angle of units in your drawing. It’s also possible to alter the drawing scale you’re using, which can be very important. Type Units into the command line > Drawing Settings > Unit System.
Image source: DraftSight Blog
Additionally, you might want to change the background color to best suit your preferences. For example, many people prefer to draw on a plain white background. Simply head to Tools > Options > Drafting Styles > Display > Color. You might also find it useful to have the grid onscreen as a reference for when you’re drawing. This isn’t visible when you print out your drawing, so don’t worry.
The next step is to group your toolbars and palettes into the same place to ensure everything’s exactly where you want it to be when you finally start your first drawing. Right-click on an empty space in the toolbar, click Tool Matrix. A blank box will appear; you can then click and drag tool palettes into it. This makes it easier to find tools and reduces the time it takes you to draw. You could essentially have your draw, modify and dimensions palettes in this one tool matrix.
-
YOU MIGHT ALSO LIKE:
How To Trace An Image In DraftSight
- Bethany
- September 6, 2017
Coordinates system
Much like AutoCAD, DraftSight makes use of two different coordinate systems: the Cartesian coordinate system and the Polar coordinate system.
The Cartesian coordinate system works by defining points by their position on the X and Y axes. The Polar coordinate system is probably something you’ll be less familiar with—particularly if you’ve never used CAD software before. It works by defining points by the distance from the origin and the angle from a line that starts in the origin. The angle increases as it moves counterclockwise around the origin point.
Coordinate systems are further broken down into absolute and relative coordinates:
- Absolute coordinates: input points are specified using standard Cartesian coordinates. Absolute Cartesian command: x,y ; Absolute Polar command: length<angle .
- Relative coordinates: once you’ve inputted your first coordinate, the next one can be entered by specifying it as relative from your first coordinate. Relative Cartesian command: @x,y ; Relative Polar command: @distance<angle .
It might take you a while to get used to these systems—particularly if you’ve never used CAD software before. That being said, it’s all about practice—try out as much as you can, and you’ll be an expert in no time at all.
Which DraftSight Package is Right For You?
Draftsight Feature Matrix
| Professional | Premium | Enterprise/Enterprise Plus | |||
|---|---|---|---|---|---|
| 2D Design Tools |
Create basic elements such as lines, polylines, arcs, circles, ellipses, layers, blocks, and others. |
||||
| Part and Assembly Modeling |
Handle all aspects of your part and assembly modeling with the SOLIDWORKS 3D design system for transforming |
||||
| 2D Documentation Tools |
Create basic annotation elements such as notes, dimensions, tables, hatches, clouds, and others. |
||||
| Community Resources |
Offer learning resources and a collaborative environment to interact with your peers, ask questions, and |
||||
| PDF Underlay |
Attach pages of a PDF document to a drawing. |
||||
| Toolbox |
Quickly generate hardware, holes, balloons, Bills of Materials (BOMs), welding and surface finish symbols. |
||||
| Batch Printing |
Send a set of drawings and sheets to printers in a batch job. |
||||
| Drawing Compare |
Compare graphically similar entities between two drawing documents. |
||||
| Power Trim |
Trim multiple, adjacent entities by dragging the pointer across each entity. |
||||
| G-Code Generator |
Communicate with a CNC machine for fabrication. |
||||
| DGN Import |
Directly import and convert the DGN file format drawing into a DraftSight project for direct editing. |
||||
| DraftSight APIs |
Allow end users or third-party developers to customize and automate DraftSight. |
||||
| Image Tracer |
Convert an imported raster image file (ex. floor plan, logo) into vectorized line entities. |
||||
| Using Formulas in Table Cells |
Use formulas in cells with arithmetic operators and the Sum, Average, and Count functions. |
||||
| Trimming of Hatches and Gradients |
Trim hatches and gradients with the Trim and PowerTrim commands. |
||||
| 3D Modeling Tools |
Introduces 3D modeling using basic geometrical shapes (ex. Box, Pyramid) or other methods (ex. Extrude, Revolve) with Boolean operations (ex. Union, Subtract). |
||||
| 2D Constraints |
Use 2D Constraints to control drawing entities parametrically by specifying geometric and dimensional properties of entities. |
||||
| Network License |
Enable concurrent usage and compliance across the organization. |
||||
| Deployment Wizard |
Enable large groups of users to install or upgrade DraftSight. |
||||
| Technical Support |
Answer questions or troubleshoot issues related to DraftSight. |
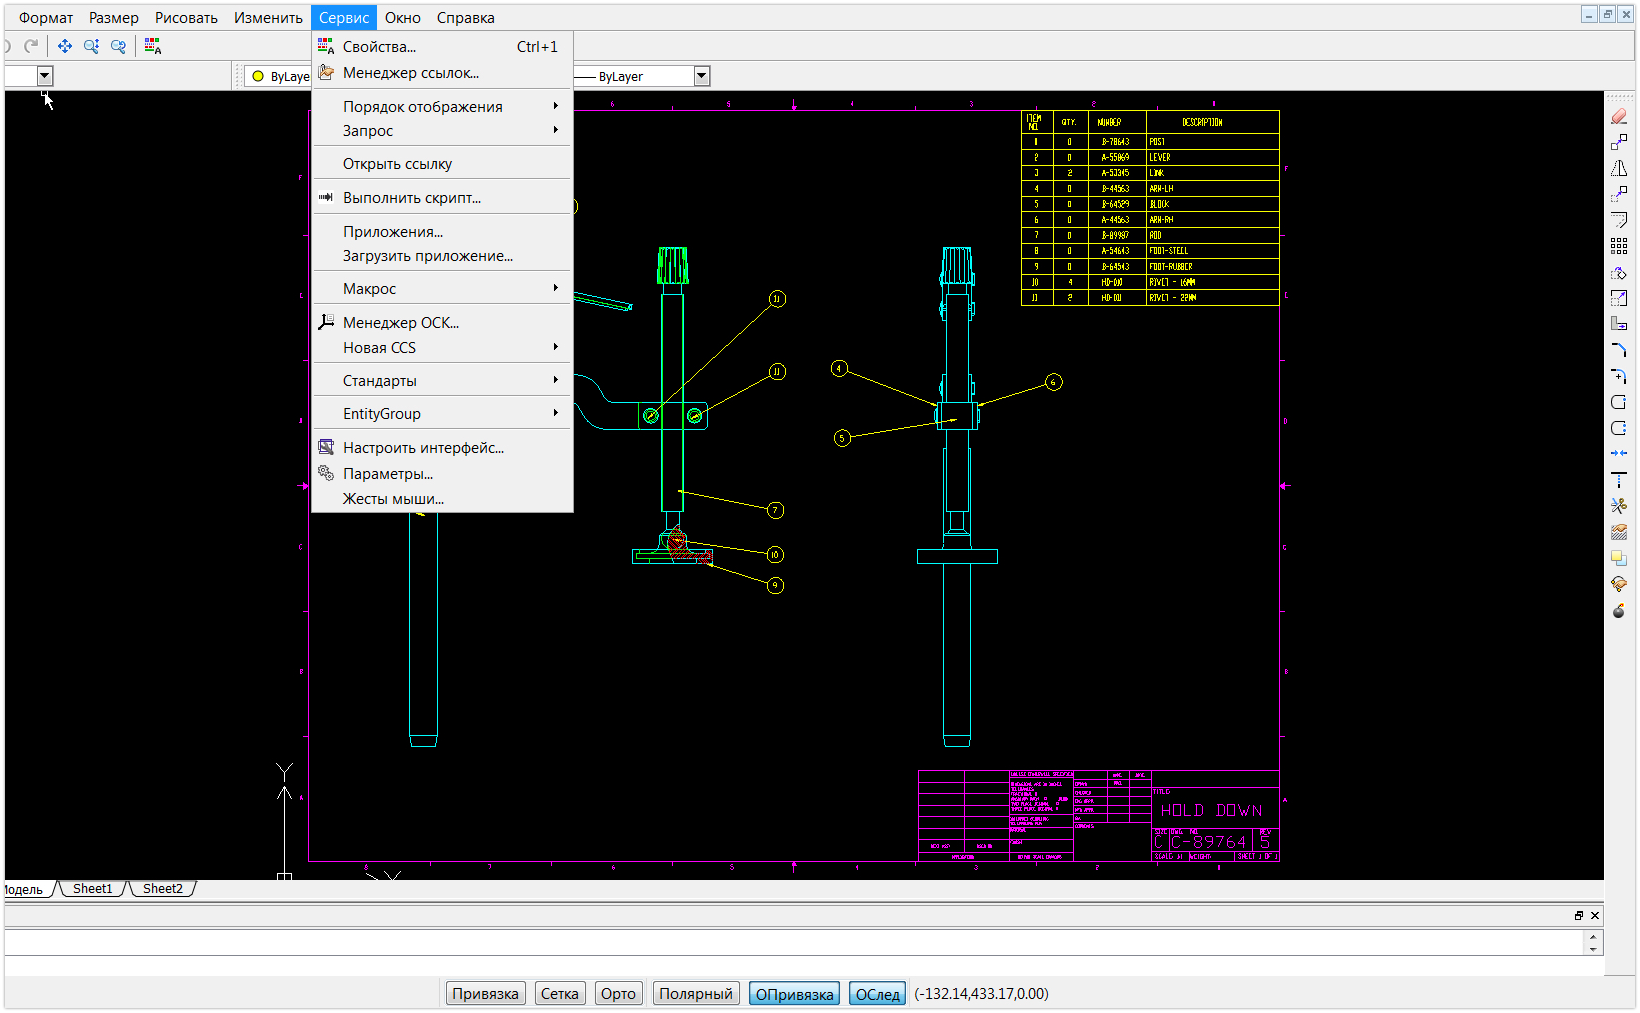
Mouse Gestures
Image source: worldcadaccess
As we’ve covered in the evolution of CAD, most companies nowadays are looking for ways to make CAD more accessible. With that in mind, DraftSight enables users to take advantage of mouse gestures as a shortcut for certain commands. For example, you could click and drag left to activate the circle command—it’s just that easy.
To assign mouse gestures, head to ‘Tools‘ > ‘Mouse Gestures‘. Alternatively, you can run the command by typing ‘GESTURE‘. Click ‘8 Gestures‘, and right-drag commands to the gesture direction of your choosing. You could left-drag your mouse, dragging toward the highlighted command for line. All you have to do then is continue to drag left through the command icon to enact it.
Commands 101
If you really want to become a DraftSight expert, you’ll want to get to grips with DraftSight commands. These commands can be used in the command line at the bottom of the screen, and are a faster method of activating certain tools and features than using the toolbar. Typical commands might look like this:
- A for Arc
- C for Circle
- L for Line
- TR for Trim
For a full list of DraftSight commands, right-click in your drawing area and select ‘Drafting Options‘. Head to ‘User Preferences‘ > ‘Aliases‘, and you’ll find every available command alongside its alias shortcut. You can turn the command window on or off by pressing ‘CTRL + 9‘.
Image source: Tutorial45
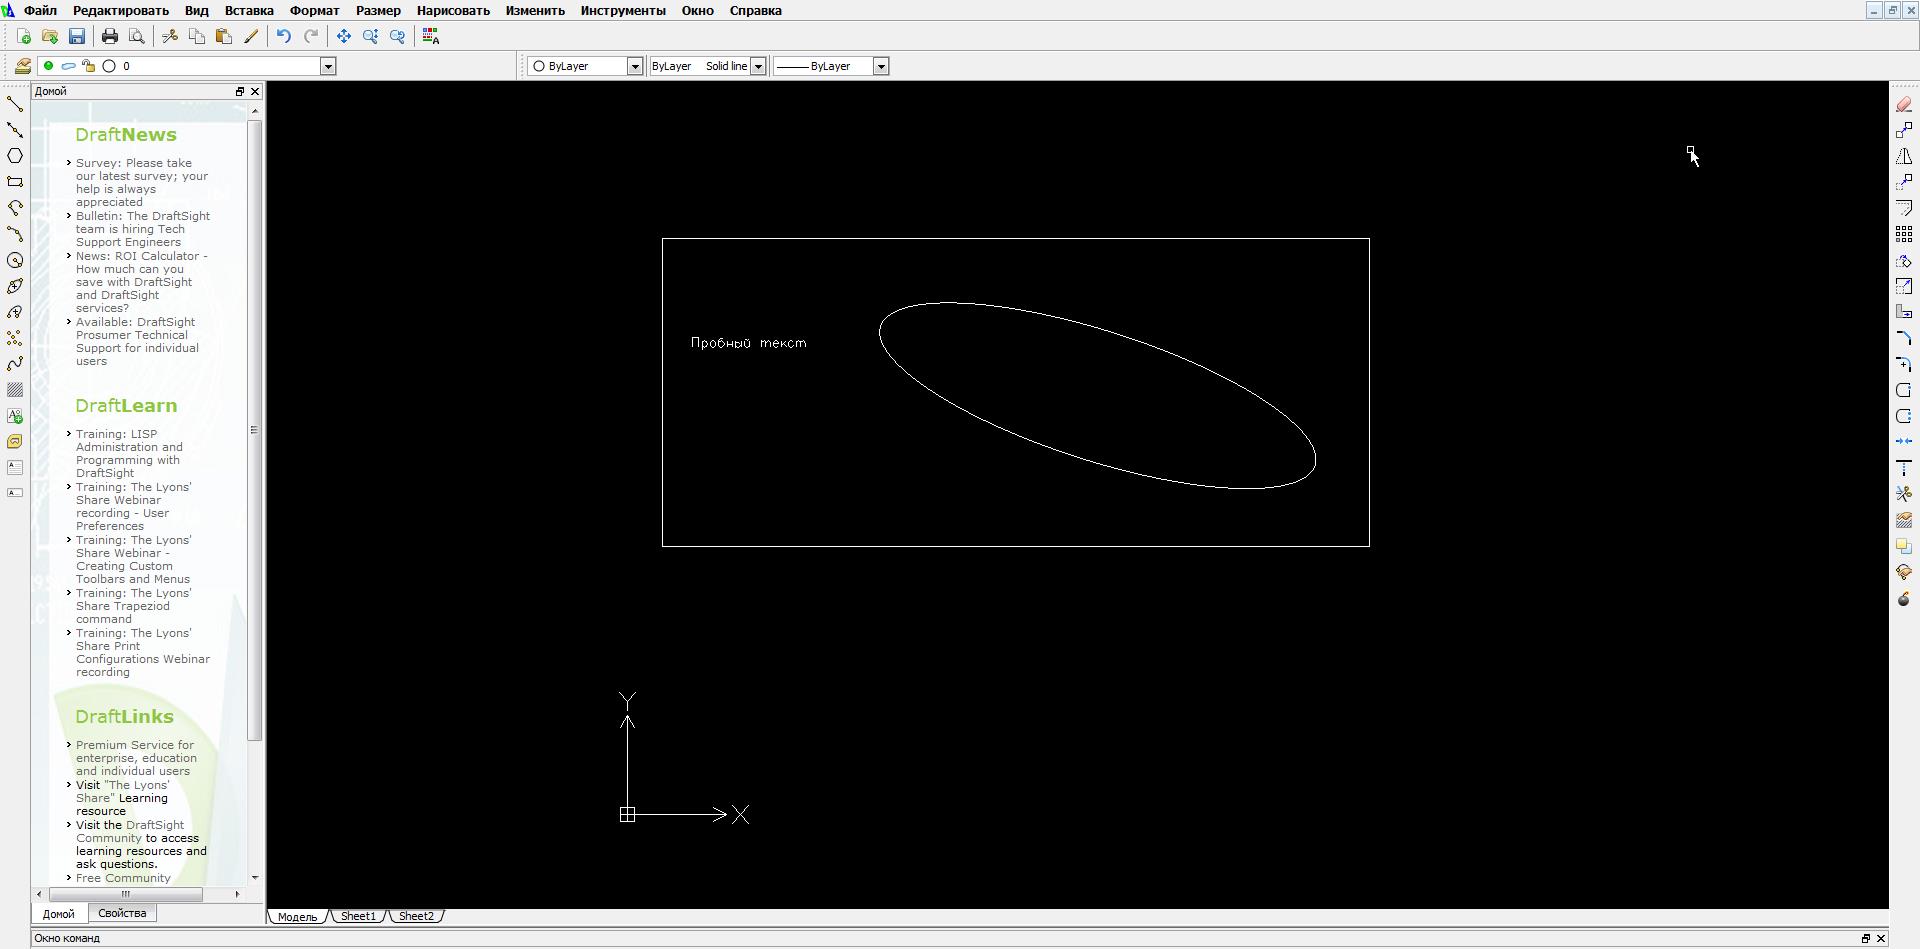
DraftSight basics: orientation
While it might be tempting to just get stuck into DraftSight straight away, you have to first get to grips with the actual interface. After all, you won’t be able to go far if you can’t locate certain tools or don’t know how to type in commands. We’ll take you through a quick overview of the DraftSight interface, which will probably take you around 10-15 minutes to complete.
-
YOU MIGHT ALSO LIKE:
Top Tips and Tricks for DraftSight Newbies
- Bethany
- August 29, 2017
If you’ve used software like AutoCAD before—particularly the 2000 to 2007 editions—you’ll find the DraftSight interface to be relatively familiar. This is pretty beneficial, as it means you don’t have to spend days trying to get to grips with a new CAD software. You can find the basic ribbon toolbar at the top of the screen, containing standard pull-down menus, toolbars and palettes. If you’re not overly familiar with other CAD software, you don’t have to worry. All you have to do is do a bit of extra exploring to get a better idea of what DraftSight has to offer you.
You can find the ever-familiar command line at the bottom of the interface. There, you can execute commands and actions by typing in a key phrase or letter—type LINE to activate the line tool for example. You can customize command aliases (keyboard shortcuts) by right-clicking and heading to Drafting Options > User Preferences > Aliases. We have discussed this further in top tips and tricks for DraftSight newbies.
Image source: computeraideddesignguide.com
Возможности
Программа Draftsight была разработана представителями компании Dassault Systemes еще в 2011 году, но до сих пор не потеряла своей актуальности. Приложение обладает удобным пользовательским интерфейсом, давая возможность пользователям свободно просматривать файлы в форматах DXF и DWG, редактировать их, внося любые изменения. Возможности у программы действительно достаточно большие, поскольку она также позволяет легко визуализировать не только 2D, но и 3D объекты. В Draftsight можно свободно открывать файлы, созданные в других программах САПР.
Благодаря софту можно свободно создавать растровую графику и выполнять чертежи любой сложности, не говоря уже о бинарных файлах. Для установки программы потребуется не менее 500 Мб свободного пространства на жестком диске, 2 Гб оперативной памяти и графический адаптер с поддержкой опции OpenGPL 1.4. Чтобы исключить торможения и подвисания центральный процессор должен быть AMD Athlon X2 Dual-Core или Intel Core 2 Duo. Из ключевых особенностей программы можно выделить следующие:
- Продуманный и приятный графический интерфейс;
- Плотная интеграция с сервисным управлением eDrawings;
- Успешная работа с ASCII и бинарными файлами;
- Свободное добавление внешних ссылок;
- Комплексная поддержка файлов в форматах DXF и DWG.
Удобнее всего инсталлировать программу на русском языке, что позволит удобнее и быстрее овладеть всеми ее функциональными возможностями. Программа предназначена для установки только на OS Windows, поскольку не поддерживает Mac OS X и Linux.
Загрузка и установка DraftSight
САПР DraftSight, по нашему мнению, стоит попробовать. Загрузка дистрибутива производится с сайта https://www.3ds.com. Размер установочного файла, к примеру, для Linux — около 110 Мб.
Об установке под Linux говорить особо нечего, так как установка приложения осуществляется буквально в пару кликов. Как и любой дебиановский пакет, дистрибутив в автоматическом режиме распаковывается и выполняется.
После автоматической установки программы пользователь уже может подстраивать под себя интерфейс и настраивать панели инструментов.

Все вышеописанные действия аналогичны тем, что производятся для этой цели во всех других CAD-ах. Сам базовый интерфейс, контекстные меню и структура главного окна практически идентичны Автокаду.
- Если детальнее, то это:
- Панель свойств.
- Настраиваемые панели инструментов.
- Командное окно.
- Дополнительные инструменты (привязки, настройка сетки и т.д.).
Кроме этого, аналогично Автокаду осуществляется работа со слоями, стилями чертёжных и размерных линий, штриховками. Абсолютно идентичными также являются почти все имеющиеся в программе инструменты рисования и редактирования объектов.
Пользователь, который привык к работе с каким-либо другим САПР-ом, как правило, без особого труда переучивается в течении 15 минут.
К вышесказанному добавим также, что масса мелких, но весьма полезных возможностей, таких как управление автосохранением и резервными копиями файлов, подключение растровых изображений, повторение последних команд и многое другое – неизменно присутствуют в виде, знакомом и любимом пользователям других САПР.
На личном опыте автор убедился, что никакого дискомфорта, либо снижения продуктивности по сравнению с AutoCAD, при работе с программой замечено не было.
Одинаково резво работа идёт как с чертежами А4 на 50 КБ, так и с 10 МБ файлами формата А0, насыщенными деталями, элементами штриховки и подключёнными сторонними файлами.
DraftSight Free CAD
Программа для профессионального 2D-проектирования
Скачать DraftSight Free CAD для 32 bitСкачать DraftSight Free CAD для 64 bit
DraftSight Free CAD – утилита для создания чертежей и профессионального 2D-проектирования. Позволяет просматривать, создавать, размечать и редактировать 2D-чертежи, созданные в .DWG и .DXF.
Использование «универсального» DWG-формата позволяет легко «перегонять» чертежи из западных систем, работающих с CAD, в программные решения САПР, использующиеся на постсоветском пространстве. «Дружит» с более чем 30-ю CAD/САПР утилитами и несколькими гибридными 2D/3D-системами.
Функционал DraftSight Free CAD
- Ассоциирует DWG/DXF-файлы с программой (опционально), позволяя открывать их без необходимости предварительного импорта – просто кликнув на иконку;
- Интерпретирует цифровой код DWG/DXF-файлов и визуализирует «хранимый» ими чертеж;
- Анализирует вносимые пользователем правки, и, в случае отсутствия грубых «инженерных ошибок» — изменяет редактируемый файл;
- Сохраняет DWG/DXF-файлы на бинарном или ASCII (только DXF) уровне;
- Интерпретирует (после формальной активации по e-mail) цифровой код версий DWG/DXF/ DWT-файлов, использовавшихся до релиза программы;
- Импортирует популярные форматы растровых изображений;
- Векторизирует импортированное растровое изображение, позволяя редактировать линии «обычного» рисунка с помощью «чертежных инструментов»;
- Подгружает (по запросу) внешние чертежи по указываемым ссылкам;
- Растеризиует чертежи, позволяя распечатать их как «обычный» рисунок или сохранить в .jpeg, .stl, .bmp, .pdf, .sld, .png, .tif, .svg и .wmf? форматах;
- Создает (опционально) многостраничные .PDF-книги с выбранными чертежами;
- Экспортирует результат работы в виде eDrawings «публикации».
Особенности программы
- Универсальный «рабочий» формат (DWG/DXF/DWT), позволяющий оперативно импортировать через программу чертежи между CAD и САПР утилитами;
- Возможность растеризации/векторизации в интерфейсе;
- Поддерживает внешние ссылки и eDrawings «публикации»;
- Возможность работы с файлами чертежей «старых» версий DWT/DWG/DXF-файлов;
- Встроенный сканер «грубых ошибок» проектировщика;
- Наличие платной версии с колоссальным количеством дополнительных функций.
Минусы
- Не предназначена для работы с 3D моделями;
- Корректность визуализации DWT/DWG/DXF-файлов «старых» версий не гарантируется.
Бесплатные программы
Безопасность
- Менеджеры паролей
- Антивирусы
- Файрволы
- Шифрование
Графика
- 3D моделирование
- Графические редакторы
- Конвертеры изображений
- Скриншоты
- Просмотрщики изображений
- САПР
Работа
- Органайзеры
- Офисные пакеты
- Переводчики
- Просмотрщики
- Распознавание текста
- Сканирование
- Чтение книг
- PDF принтеры
- Финансы
Интернет
- Браузеры
- Торрент клиенты
- Интернет ТВ
- Радио плееры
- Удаленный доступ
- FTP клиенты
- Социальные сети
- Раздача Wi-Fi
- Почтовые клиенты
- Облачные хранилища
- Мессенджеры
- Контроль трафика
- Загрузчики
- VPN
- Блокировка рекламы
Мультимедиа
- Аудио-Видеоплееры
- Караоке
- Аудиоредакторы
- Веб-камера
- Видеоредакторы
- Для диджеев
- Запись видео с экрана
- Запись CD
- Кодеки
- Конвертеры
- Утилиты
Образование
- Астрономия
- Клавиатурные тренажеры
- Математика
Разработчикам
- HTML редакторы
- SEO инструменты
- Базы данных
- Программирование
- Редакторы кода
- Разработка игр
Система
- Администрирование
- Архиваторы
- Быстродействие
- Восстановление данных
- Дефрагментация
- Диагностика
- Драйверы
- Жесткий диск
- Резервное копирование
- Удаление файлов
- Файловые менеджеры
- Эмуляция
- Клавиатура
- Контроллеры
- Операционная система
- Расширения и библиотеки
Drawing and editing
Now, we’ll move onto the actual drawing and editing side to DraftSight. As with most CAD software, DraftSight comes with a wide range of geometric shapes that can be used in 2D drawings. Examples include:
- Line: creates straight line segments
- Polygon: creates equilateral closed PolyLine
- Spline: quadratic or cubic Spline curve
- Make Block: defines a Block from selected entities
- Hatch: fills specified boundary with a pattern
DraftSight also comes with a wide range of modification tools that allow you to make changes to elements within your drawing. Examples include:
- Mirror: copies entities onto opposite side of a mirror line
- Rotate: rotates entities through an angle around a base point
- Scale: enlarges/reduces entities while keeping proportions the same
- Chamfer: connects two Lines with a beveled corner
- Split: erases part of an entity between two Points you select
You can find further examples of what DraftSight has to offer in Dassault’s official Getting Started guide.
Drawing couldn’t be easier in DraftSight. Even if you’re not familiar with CAD software, the icons are so self-explanatory that it won’t take you long to get to grips with them. It is essentially a case of clicking on each icon to get a better idea of what each entails. It should take you the rest of your hour to explore all of DraftSight’s draw and modify tools. If you don’t think that’s the best method of learning for you, check out the YouTube tutorial below for a more visual approach.
Customize your own shortcuts
Not happy with the built-in shortcuts? Create your own! DraftSight makes it easy to create custom shortcuts: simply start by heading to ‘Tools‘ > ‘Customize Interface‘. Expand the ‘Command Explorer‘ and select the plus sign to add a new command to the list. You can find the command in the explorer and assign it a shortcut. Shortcuts always follow the format: ‘Ctrl + Letter/Number‘. If the shortcut has already been assigned, you’ll have to delete the command.
From Newbie To Expert
A great way to help you transition from newbie to expert is customization of the software—in other words, knowing how to shape the DraftSight interface to suit your own needs.
Customization
Head to ‘Tools‘ > ‘Customize Interface‘. Here you’ll find five main tabs: commands, interface, mouse actions, keyboard and UI Profiles.
Under ‘Commands‘, you’ll be able to locate all the DraftSight commands at your disposal. And, as we covered earlier, you’ll be able to customize your own commands. The ‘Interface‘ tab lets you customize your menus and toolbars. If you expand the toolbars option and right-click on any of the lists, you can create new toolbars. If you click on the ‘Show Command Explorer’ icon on the right, you can then add commands to this new toolbar. You could quite easily create different toolbars to suit different purposes and needs.
‘Mouse Actions‘ allows you to customize your mouse gestures, as we’ve already covered. The ‘Keyboard‘ option allows you to customize your shortcut keys. These include options like ‘Ctrl + S‘ for Save, and so on. The ‘User Interface‘ allows you to create and manage individual user interface profiles. You can find more information on DraftSight’s custom user interface in the video below.
Extra resources
If you want to truly master DraftSight, then you’ll want to prepare yourself for a lot of serious work. You can’t just expect to pick up on everything by yourself. You’re going to have to do some background reading and extra learning whenever you get spare time. To speed up the process, we’ve compiled a list of extra resources for you take advantage of.
A great way to get better acquainted with software is to read up on relevant blogs and guides. Here, you can find anything from DraftSight lessons to the latest news and software updates. Here are a few of our top picks below:
- DraftSight Blog
- CAD Oasis
- Getting Started
- Tutorial 45
For a more hands-on approach, take a look at some YouTube channels and other video resources. You can follow tutorials and lessons with an experienced DraftSight user from the comfort of your own home:
- DraftSight for Beginners
- Lynda
- DraftSight YouTube
- EagleRock Products
Don’t know much about the company behind DraftSight? Check out Dassault Systèmes – Everything You Need To Know.
Плюсы и минусы
Приложение Draftsight имеет грамотную структуру, благодаря чему даже новичок сможет спустя небольшой промежуток времени разобраться с ней. Однако, чтобы оценить все возможности такого софта обязательно потребуется установить его и применить на практике. К главным достоинствам программы можно отнести:
- Наличие большого числа чертежных инструментов: линии, лучи, многоугольники, дуги, окружности и так далее.
- Поддержка растровых форматов DWG, DXF и DWT.
- Создание многостраничных PDF файлов.
- Поддержка нескольких языков: английский, чешский, китайский, немецкий, испанский, турецкий и русский.
- Возможность автоматизированной разработки и проектирования.
- Прямое импортирование файлов формата DGN и их редактирование.
Из недостатков софта выделяют, прежде всего, отсутствие бесплатного распространения, так как здесь имеется только пробный период в течение 30 дней, после чего программу потребуется активировать или же найти регистрационный ключ.
Manage Your Standards
So, you know your basics and you’ve breezed through our customization tips. Now all that’s left is for you to put in place some standards for managing your files. As we’ve already covered in CAD file management tips, managing your standards is a must for all CAD users.
One main example for this type of management is naming conventions. For example, you should have conventions in place for your files and command shortcuts. Creating and managing your naming conventions will help speed up your productivity and efficiency. Standards aren’t just important for you individually, they’re vital when you find yourself collaborating with people.
Top Tip: we’ve all been in a situation where our system shuts down or reboots all of a sudden. When this happens you’re not always lucky enough to restore your files. Enable Auto-Save with DraftSight to ensure you don’t lose your files. Head to ‘Tools‘ > ‘Options‘ > ‘System Options‘ > ‘Auto-Save and Backup‘. You can even set the time interval for the auto-save.
Top Resources
Becoming a DraftSight expert isn’t just a case of memorizing a few top tips and tricks. It’s also about ensuring that you keep on learning—software is constantly evolving, so you’re always going to have to evolve and learn with it. To help you with this, we’ve compiled some top resources that you should be taking advantage of today!
You can’t go wrong with keeping updated on the latest product changes and tips with DraftSight blogs. If you have any issues or queries, it’s likely that one of these blogs will answer them.
- DraftSight Blog
- Cadoasis
- Getting Started
- Tutorial45
If you’re more of a visual and hands-on learner, you might be better suited to tutorial videos. Thankfully, there are dozens of great YouTube channels and blogs that can provide the tutoring you need:
- DraftSight
- Dassault Systèmes
- Lynda
- Solid Solutions
That should certainly be more than enough to keep you occupied for now. As long as you keep updating your learning, you should be a DraftSight expert in no time at all.
Using AutoCAD or SolidWorks instead? Check out our top tips and tricks for AutoCAD or SolidWorks newbies. If you want to stay updated on everything CAD-related, keep an eye on Scan2CAD’s blog for the latest news, tips and freebies.
